
Custom Make Door Panels
Part 3 of our custom door panel article
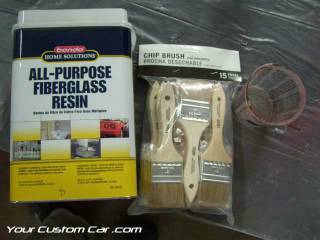
"Fiberglass Resin"
To continue in the custom
make door panels process you should now have fully prepped
your custom door panels using the previous steps in this how to custom
make door panels article, you are ready to do some work with
fiberglass resin. This is the section that requires the most
patience, So, think about what you are doing and try to be safe.
The
next steps in customizing your door panels involve using your polyester
blend t-shirts, staple gun and spray adhesive.
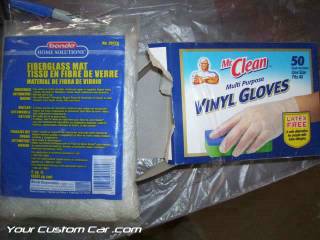
Remember: Always wear protective gloves, safety goggles, and a dust mask when working with any kind of fiberglass or resin!
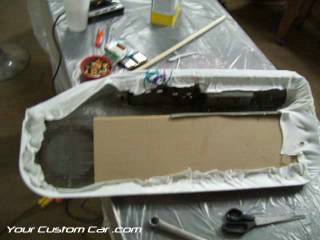
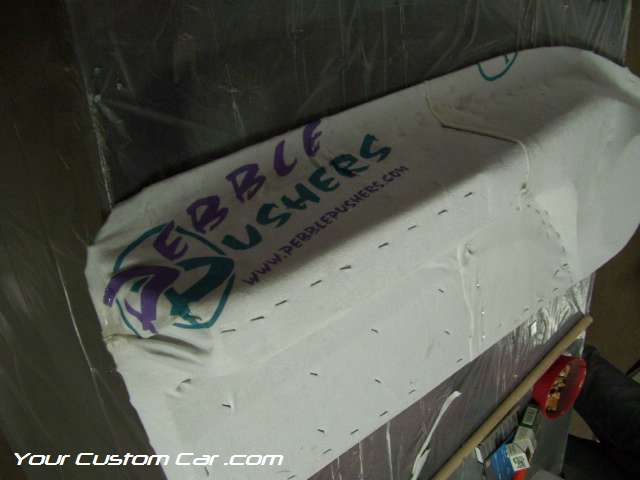
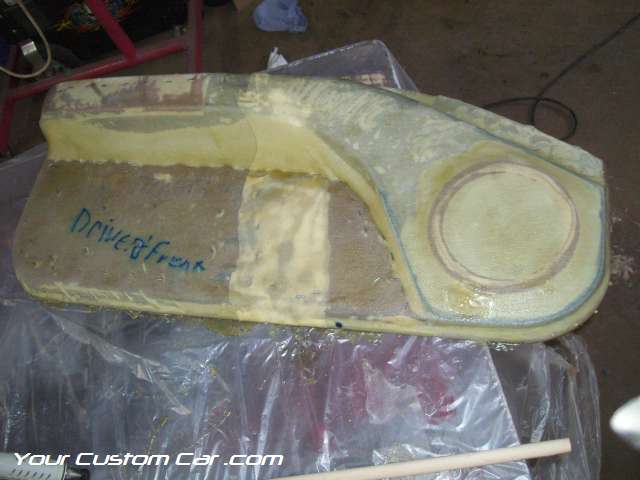
If using t-shirts, make sure they are polyester blend. This is recommended because the fiberglass resin will actually bond with the polyester fibers in the shirt for extra strength. The number of shirts you need will depend on how large of an area your are covering in resin. I used 1 shirt ( front and back) to custom make door panels for the front of my custom Impala SS
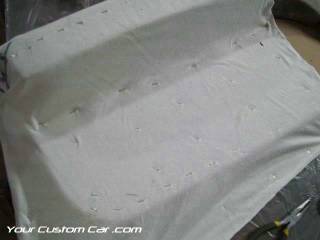


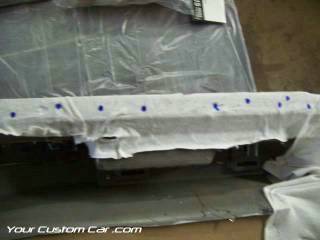
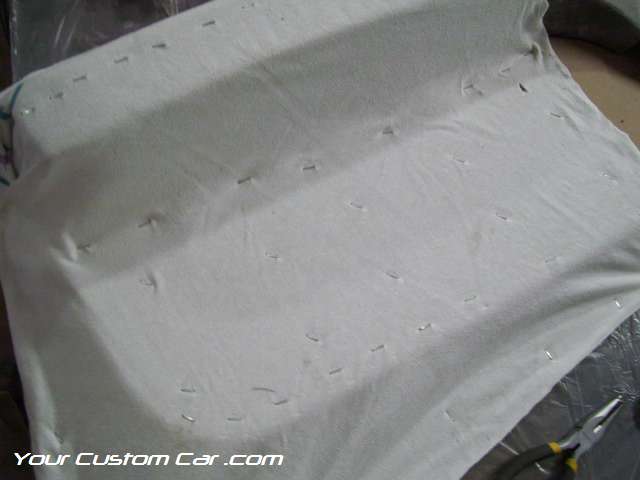
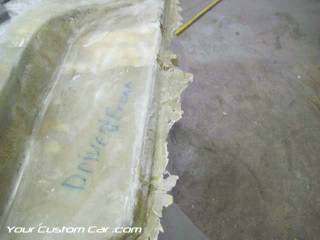
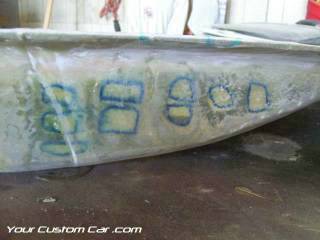
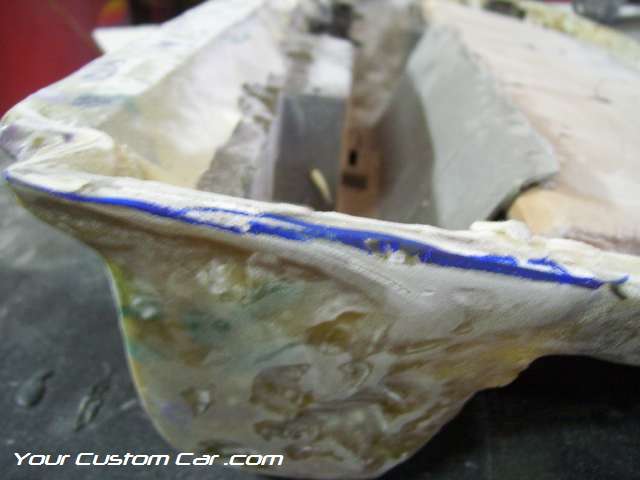
If there are any holes on the edges of your door panel that are used to
mount pieces to, like the top edge of mine where the upholstered panel
goes, use a Sharpie marker to mark the holes at this time in order to
properly custom make door panels. This should include any
section that screws go through to mount the panel back onto the door
itself. Use a bright colored marker (blue, red, green) to
mark these holes on the t-shirt.
Remember: Always wear protective gloves, safety goggles, and a dust mask when working with any kind of fiberglass or resin!
If using t-shirts, make sure they are polyester blend. This is recommended because the fiberglass resin will actually bond with the polyester fibers in the shirt for extra strength. The number of shirts you need will depend on how large of an area your are covering in resin. I used 1 shirt ( front and back) to custom make door panels for the front of my custom Impala SS
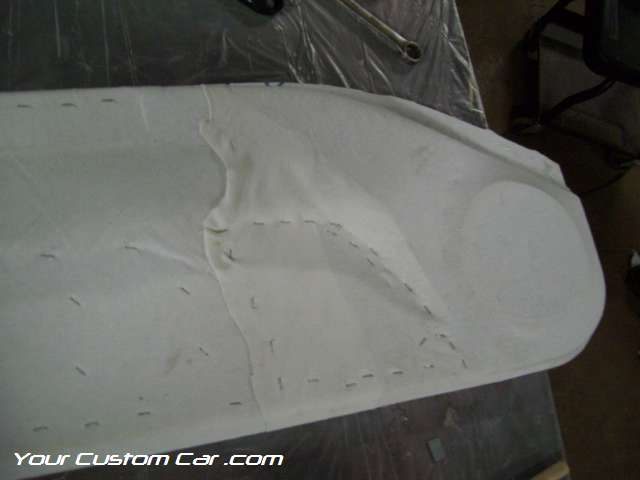
- You will need to cut the sleeves off of the shirt and also
the collar portion. Now make a cut all the way up the side of
the shirt so It can be opened up fully. Also stretch the
shirts out very well to help loosen the fibers up.
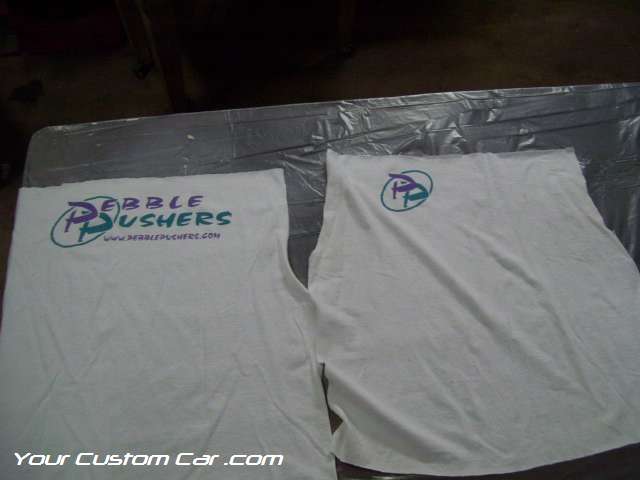
- Try to keep the shirt from wrinkling up and stretch it tight over any mounts or pods that you have created out of wood. The tighter, the better!


If you haven't already done
so, lay down some plastic drop cloth on your work bench to keep it
protected during the next few steps.
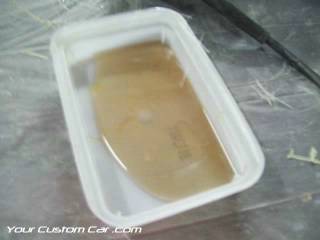
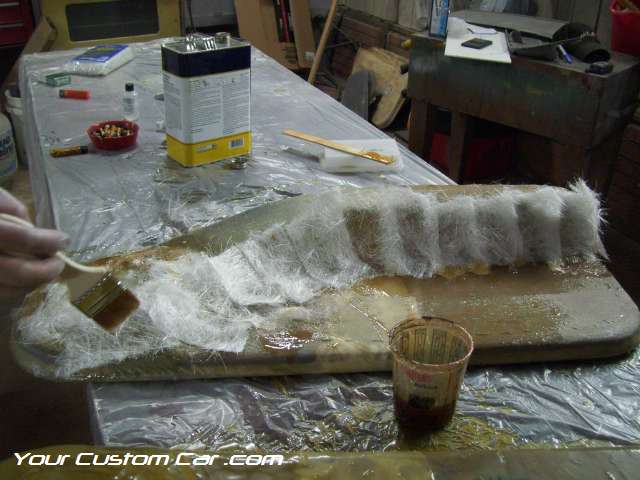
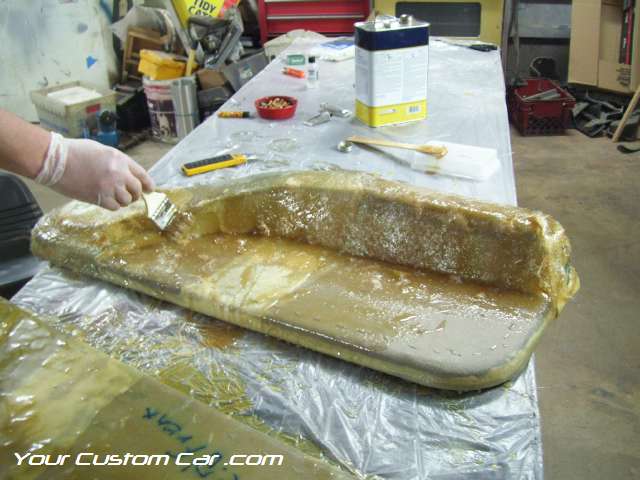
Apply your first coat of resin, after mixing it up. Apply it with a short hair, inexpensive paint brush. Two inch wide brushes are perfect to custom make door panels for your ride!
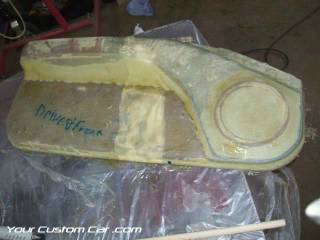
The next step is to sand the entire panel down with 150 grit sand paper to completely level the surface.
Check to make sure your door panels will still fit on your car or truck
before continuing! This
step is very important! You need to be able to
fully install them before continuing to the next step.If you feel like
you need to go back and trim more resin off, or add more in some areas
to assure that your custom door panel fits the way you want it to, now is the time to do it!

(I marked the areas on my panel that were a little thick and prevented the panel from sitting flat on the door while I held it in place. I sanded the area(s) down until it fit perfectly)
Click here for the next step in our how-to article to custom make door panels
Part 1 of making custom door panels (planning)
Part 2 of making custom door panels (preparation)
Part 3 of making custom door panels (fiberglassing)
Part 4 of making custom door panels (body filler)
Part 5 of making custom door panels (custom painting)
Home Page
Apply your first coat of resin, after mixing it up. Apply it with a short hair, inexpensive paint brush. Two inch wide brushes are perfect to custom make door panels for your ride!
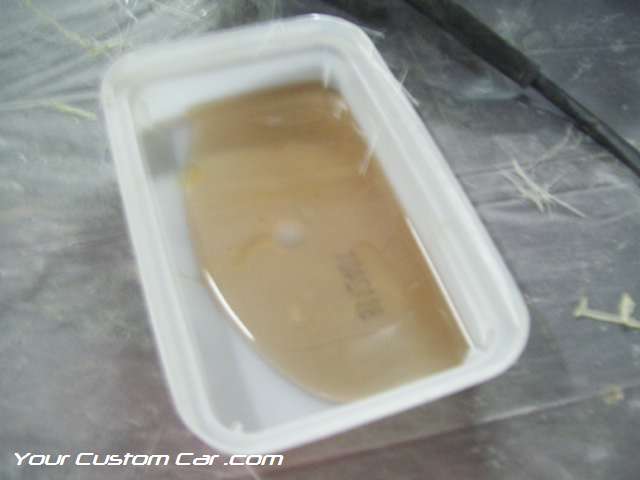
- This is done by first mixing the resin with its activator/hardener per the instructions on the label of the resin container. With the resin, you will be given a small tube of liquid hardener. The hardener tends to be used up rather quickly, so try to have some extra tubes of hardener on hand.
- Do not try to add more hardener to get the resin to dry more quickly! Follow the instructions exactly as they are stated on the resin container. Adding too much hardener will allow the resin to harden too quickly and won't give you enough time to apply it to your work piece! Too little hardener will not allow the resin to fully cure, or dry.
- Don't mix all of the resin at one time! Only small amounts are necessary at a time. You can always mix more up.

- When applying the first coat of resin, don't simply paint the surface of the panel with the resin. You actually kind of have to stab the resin into the shirt with your brush. Doing this will allow you to fully penetrate the the threads of the material which will add to its strength. Be sure to work out any air bubbles that appear with your stabbing motion.
- Also apply the resin around the edges to the backside of the panel. You don't need to coat the entire backside, but do apply at least two coats of resin over the edges of the panel
- Completely saturate the entire surface to custom make door panels.
Any
time that you custom make door panels with fiberglass resin that the
drying of the resin tends to shrink and this can cause your
door panels to warp if certain precautions are not taken.

- To prevent the door panel from warping, you can do two
things:
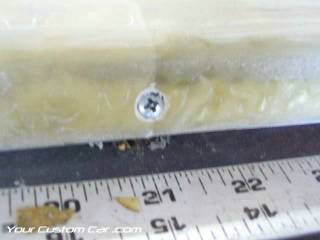
- Screw the door panel down onto your work bench in as many places as possible. After your first coat of resin, it will be necessary to drill holes through the resin you just applied to allow the screws to go through the panel. Try to utilize the door panel's original screw hole locations.
- Mount the door panel back onto the vehicle it came from and apply the res of the fiberglass resin while it is still on the car. That just sounds scary to me though. I did the complete process with my door panels screwed to my workbench. They did warp ever-so-slightly, but they straightened back out when I mounted them to my car doors at the end of the project
Allow your first coat of
resin to dry for at least two hours and apply the second coat of resin
while the first coat is still tacky, or sticky, but not wet.

To custom make door panels that are strong enough for everyday use, and or abuse, use fiberglass mat to reinforce the high stress areas (like the door pull or armrest for instance)
- If there are any areas that need some extra strength you should cut up a sheet of mat and apply them with resin in your second coat. Wear gloves and a dust mask when handling the fiberglass mat!

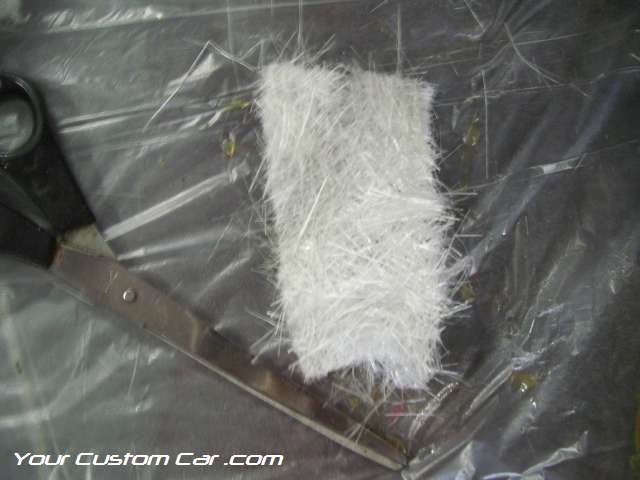
To custom make door panels that are strong enough for everyday use, and or abuse, use fiberglass mat to reinforce the high stress areas (like the door pull or armrest for instance)
- cut the fiberglass mat into several small pieces and
overlap them when applying to the door panel surface for added
strength. First apply a little resin where the mat will be
placed, put the mat in position, then cover the mat in more
resin. Again, work out any air bubbles that form with a
stabbing motion


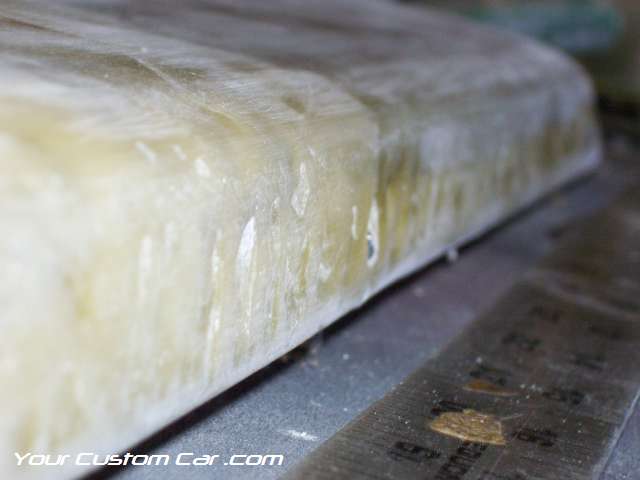
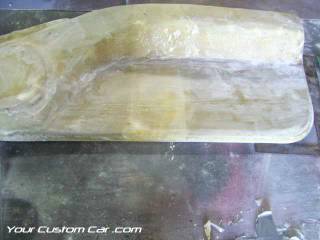
After the second coat dries
for at least 4 hours, sand down any high spots in the resin with 60
grit sand paper and apply your third and final coat of resin.
Try to get this coat as smooth as possible. Let the
final coat of resin dry for at least 24 hours.
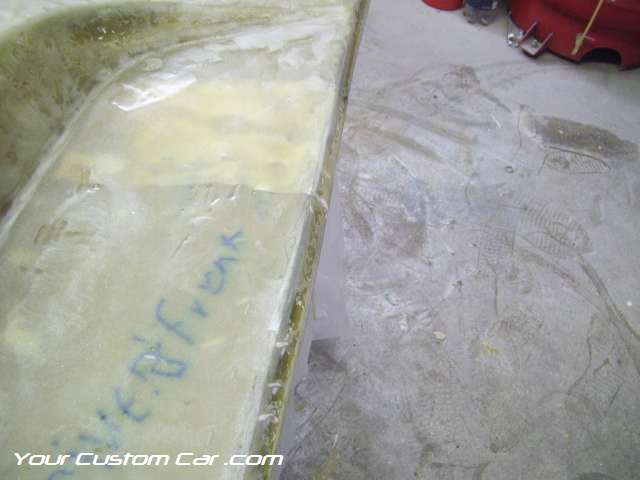
After the final coat of resin is completely dried, unscrew your door panels from the work bench and trim off any excess resin from around the edges, by either sanding or sawing it off.

After the final coat of resin is completely dried, unscrew your door panels from the work bench and trim off any excess resin from around the edges, by either sanding or sawing it off.

The next step is to sand the entire panel down with 150 grit sand paper to completely level the surface.
- You will have some high spots and low spots. The high spots are the biggest concern because the low spots will be filled up with body filler in the next section.The idea here is to get the panel as smooth as possible without going through the resin that you have previously applied.
- Use a sanding block/pad, the longer it is, the better results you will have on the big flat areas. Use your hand/fingers on the curved areas and try to get them as "flowing" as possible.
- If you happen to go through the resin in any area, reapply resin to these areas and re-sand after it dries.
- After you feel the panel with your hand and think that it
is as smooth as you can get it, thoroughly clean the panel to get rid
of any dust residue.
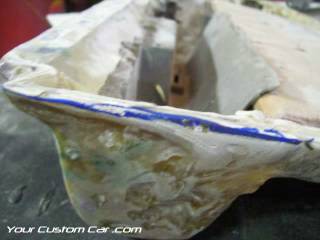
 Trim off any excess resin, or material on the back of the panel that will prevent your custom door panel from mounting flat against your door.

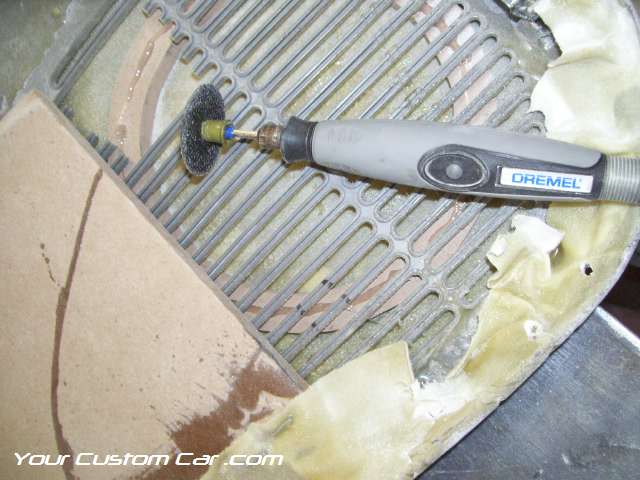


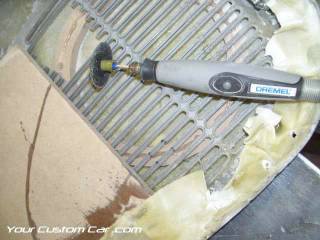
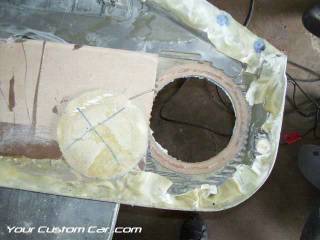
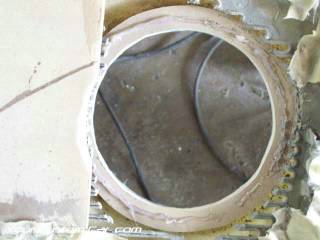
I also decided to custom
make door panels that mount my window and seat control
switches in there original location and had to go back and cut out the
holes for those as you can see in the pictures below
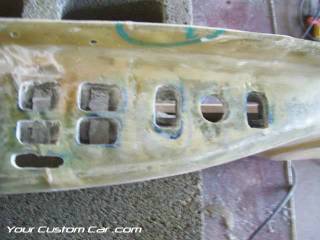

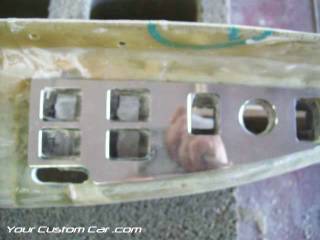
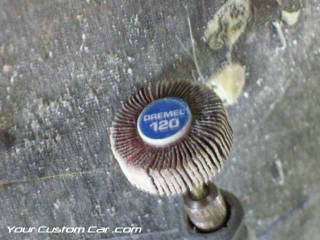
That was pretty tricky and required me to not only use my Dremel tool to cut out the holes, but I also had to go back and add resin to make the holes smooth and less jagged looking.

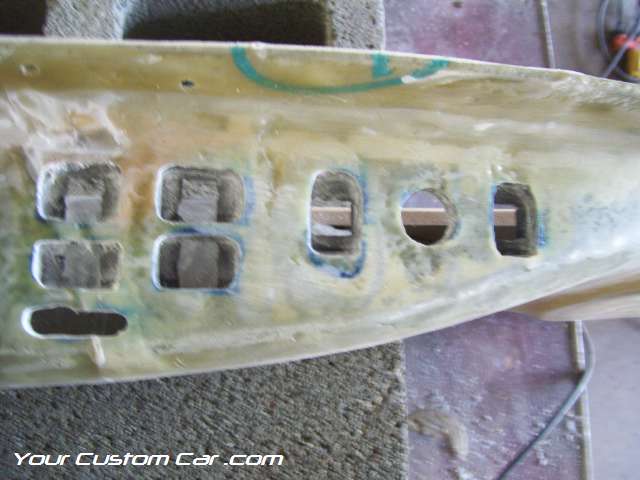
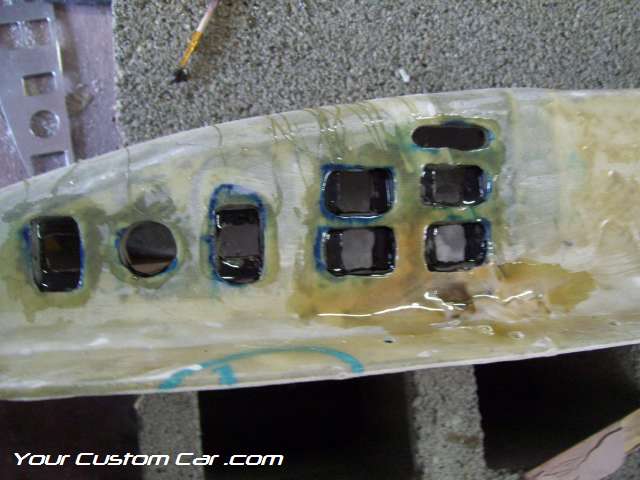
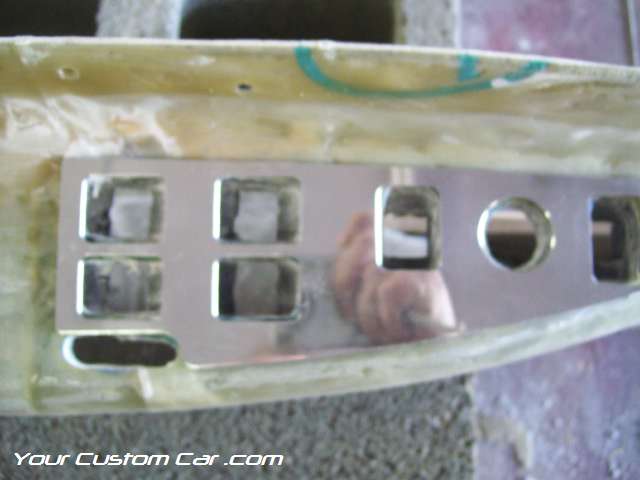
That was pretty tricky and required me to not only use my Dremel tool to cut out the holes, but I also had to go back and add resin to make the holes smooth and less jagged looking.
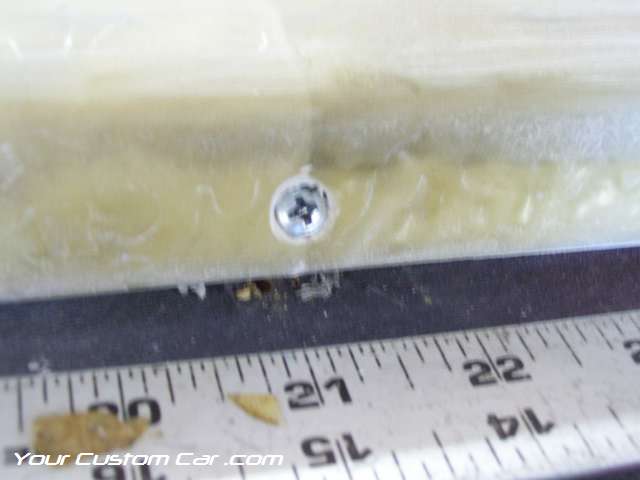
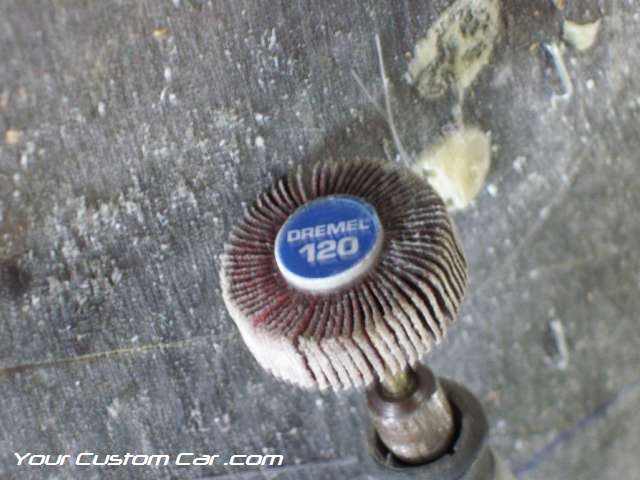
Using your drill or
Dremel, go back and drill out any mounting holes that you
marked earlier. Be sure to make the holes at least as big as
the originals in order to make sure that everything will bolt/screw
back together correctly after you custom make door panels.

(I marked the areas on my panel that were a little thick and prevented the panel from sitting flat on the door while I held it in place. I sanded the area(s) down until it fit perfectly)
Click here for the next step in our how-to article to custom make door panels
Part 1 of making custom door panels (planning)
Part 2 of making custom door panels (preparation)
Part 3 of making custom door panels (fiberglassing)
Part 4 of making custom door panels (body filler)
Part 5 of making custom door panels (custom painting)
Home Page


Your Custom Car LLC
3115 N Cannon Blvd
Kannapolis, NC 28083
704-791-4003
Like our Fan Page for cool discounts!!

3115 N Cannon Blvd
Kannapolis, NC 28083
704-791-4003
Like our Fan Page for cool discounts!!


is SAFE with us!